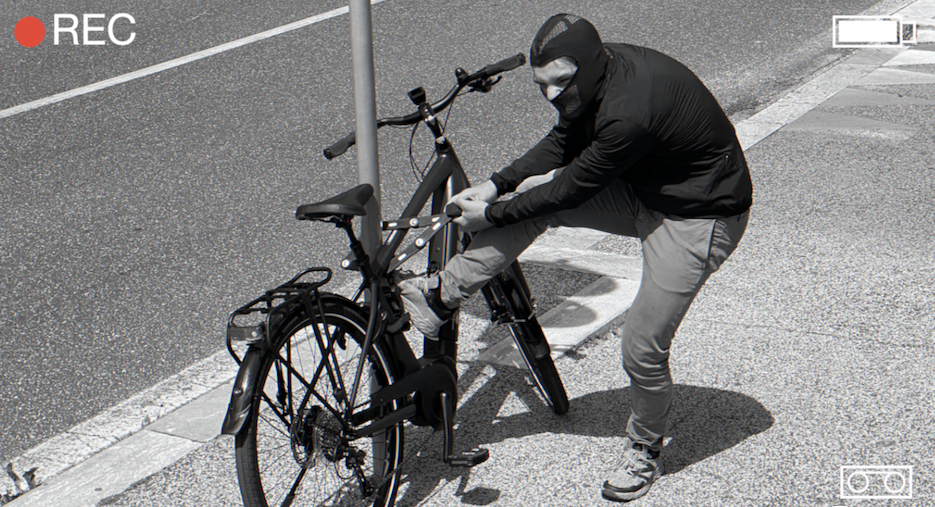
Many users might think that installing a GPS tracker is complicated and requires advanced technical knowledge. But in reality, the process is much simpler than it seems! Don’t believe us? Let’s hear from Ivan, one of our customers:
“At first, I was a bit skeptical—I’m not a tech expert, and I was afraid of messing up the connections. But following the guide, I discovered that it only takes a few simple steps! In less than half an hour, my MoonGPSTracker was already up and running.” – Ivan R.
Today, we’ll guide you step by step to install it effortlessly and start monitoring your vehicle with ease.
SAFETY PRECAUTIONS
Before you begin, follow these safety precautions:
✅ Turn off the vehicle: Ensure the engine is off and remove the keys from the ignition.
✅ Avoid direct contact with the battery terminals: Do not touch them with bare hands or metal tools.
✅ Handle with care: Avoid short-circuiting the battery terminals to prevent sparks or damage.
Step 1 – Vehicle Preparation
To install the MoonGPSTracker, first locate the battery in your vehicle:
🚲 Electric Bikes: Common battery locations include the down tube, rear rack, under the seat, or seat post tube.
🏍 Motorbikes: The battery is usually under the tank, in the center frame, or under the seat.
🛴 Electric Scooters: The battery is typically housed inside the footrest or steering tube.
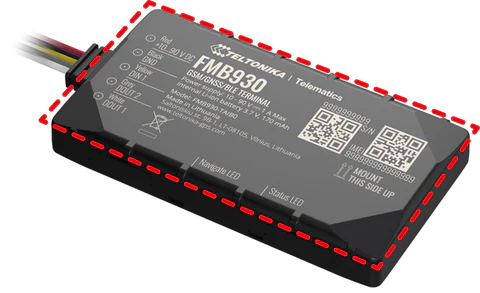
Ensure there is enough space to work comfortably around the battery terminals. Also, make sure to note and keep the IMEI number of your device, as you will need it for the registration phase.
Step 2 – Connecting the Wires
The minimum installation requires only two cables:
1️⃣ Connect the RED cable to the positive (+) terminal of the battery.
2️⃣ Connect the BLACK cable to the negative (-) terminal of the battery.
If the device disconnects from the battery after a few minutes of turning off the ignition, it may be necessary to find a different power source for the RED and BLACK cables. Ensure the LEDs on the device remain on or blinking after 2 hours with the ignition switch off.
Step 3 – Positioning the GPS Device
Find a secure location for the MoonGPSTracker, close to the battery, and secure it using cable ties or tape to prevent movement while driving.
Ensure optimal GPS reception:
- The side with markings and the QR Code should always face upwards.
- Avoid placing the device near thick metal surfaces or other sources of interference.
- The opposite side (with the label) can be attached to the chassis using the provided double-sided adhesive tape.
Step 4 – Checking Operation
After connecting the device:
1️⃣ Start the vehicle engine.
2️⃣ Check the LED indicator on the device—it should be lit, indicating proper power supply.
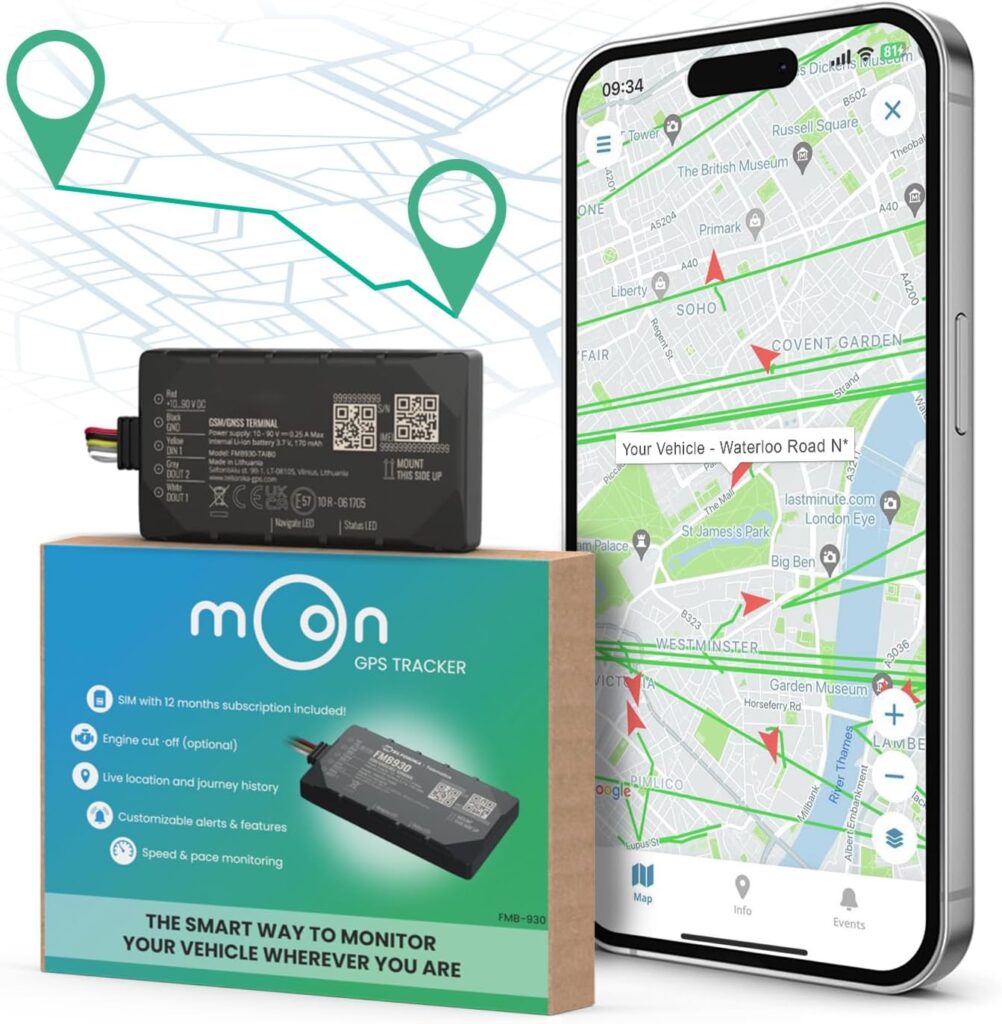
Step 5 – Online Registration and Configuration
Now, you are ready to register and configure your Moon GPS Tracker!
Simply follow these steps:
Download the Moon GPS Tracker App on your smartphone.
Log in or create a new account.
Enter the IMEI number of your device.
Check that the GPS signal is working correctly.
🎯 Conclusion
As Ivan discovered, installing the Moon GPS Tracker is easier than expected! Now you can monitor your vehicle in real-time and stay in control at all times. If you need support, our team is here to help.
Install your MoonGPSTracker today and travel with peace of mind!